I’m a qualified Geography teacher and here to show you how to do a Rainforest Diorama or Ecosystem in a shoebox either at school with your students or at home with your kids. Geography model making is an extremely fun and creative way to learn. I used these with Key Stage 3 Geography (11-12 year olds), but they are great for Key Stage 2 (ages 5-9) or in fact any age!
How to make a Rainforest Diorama
- Paint the inside green or stick on a background and line the bottom with felt.
- Add the forest floor layer using twigs, seeds, soil.
- Create the Understory using young trees and herbaceous plants that can survive in low light.
- Make tall trees from cardboard and pipe cleaners for the canopy layer. The branches are often densely covered with other plants (epiphytes) and tied together with vines (lianas) and string can be used to create these.
- Add models of taller giant trees with mushroom shaped crowns (cotton wool could be used for this) for the emergent layer.
- Add wildlife animals if desired – monkeys, snakes and spiders are a great start!
You can follow this link for Rainforest Studies in the National Curriculum.
Video of how to make a Rainforest Diorama
Ecosystem in a Box
During a year 7 Humanities project, we did an extended homework on ‘Ecosystem in a Box’. The project combined geographical knowledge with art and literacy.
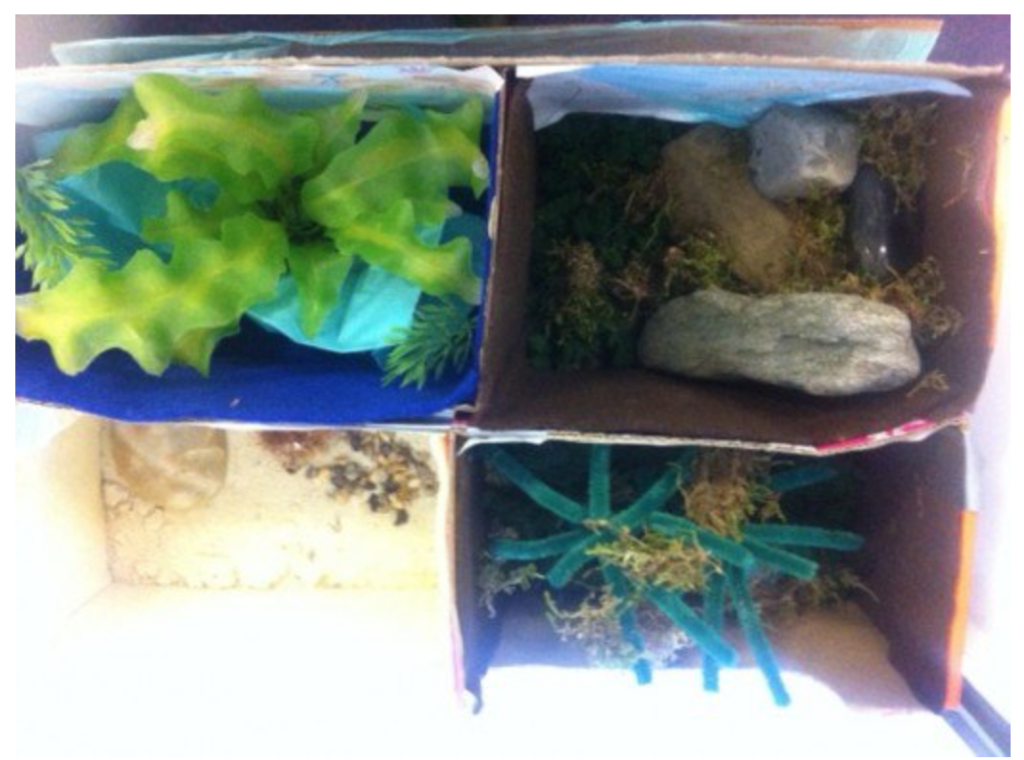
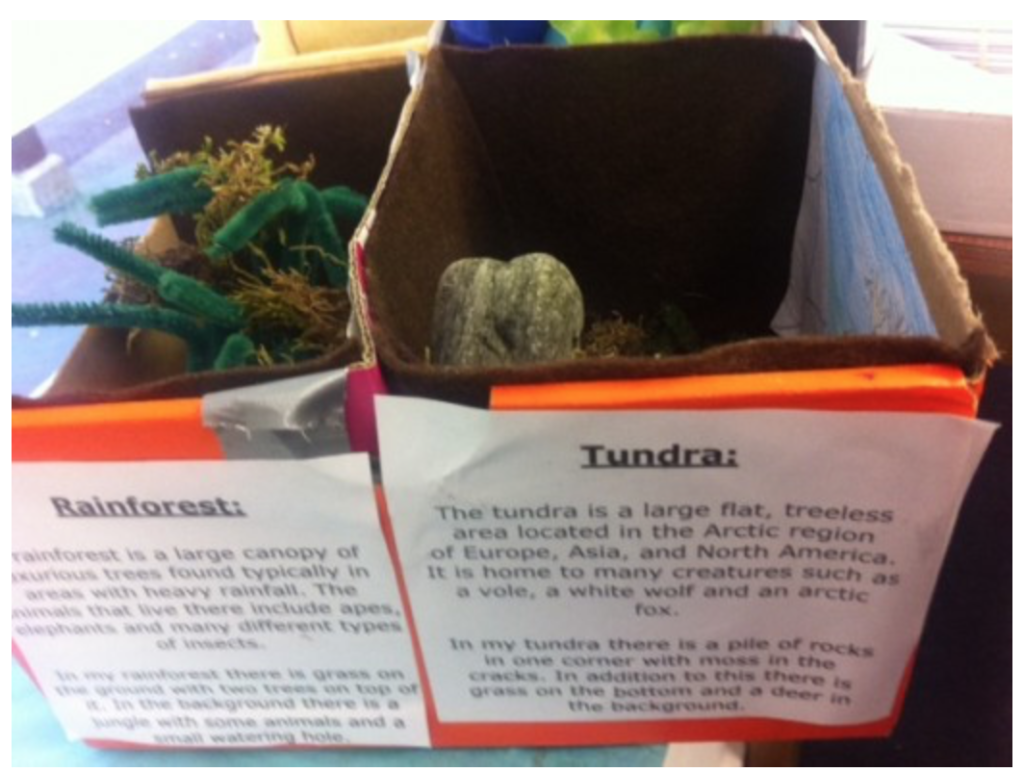
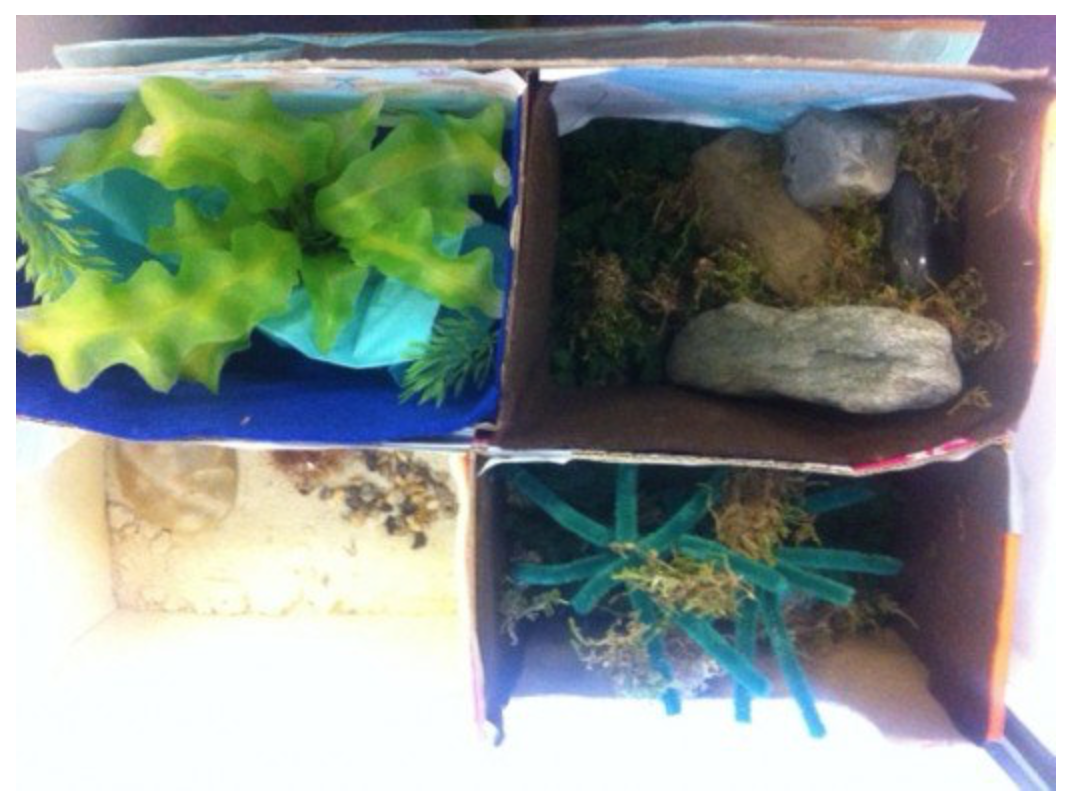
The task was for the students to produce a shoebox containing four different ecosystems: Tundra, Desert, Coral Reef and Deciduous. The results were outstanding! Advantages of the ecosystem in a box project are numerous…
- It stimulates creativity
- It is fantastic for visual learners
- It is enjoyable!
- It can be done at home over several weeks meaning less time spent on checking individual homework by teachers.
- This project will extend the G and T through a thorough explanation of each ecosystem that makes use of keywords.
Instructions – Ecosystem in a Shoe Box!
- Divide your Shoebox into four sections.
- Decide which ecosystems you are going to recreate and label in pencil.
- Cover the sides and base of your ecosystems with colors and vegetation that you might find. For example, sand for a desert, blue tissue for the coral reef.
- Add trees, sand dunes and any other features that you might find.
- Add animals particular to each ecosystem e.g. frogs for a rainforest.
- Label each ecosystem with a full explanation.

Ecosystems of the World
Children can recreate and write about four different ecosystems. These are my favorite…
Desert – A hot and dry ecosystem which includes camels, scorpians and cacti. Students can research different deserts such as the Sahara and the Gobi desert.
Tundra – Tundra is a cold ecosystem that is found in Siberia and Alaska.
Coral Reef – The Coral Reef is an ocean ecosystem found around the tropics. Examples of life in the coral reef include sea cucumbers, tropical fish and corals.
Rainforest – The rainforest is a hot and wet diverse ecosystem found in the tropics. Examples include the amazon rainforest and Madagascar.
Explanations help with Learning

Assessing Students Work
Peer Assessment works extremely well with this type of project. We do a class vote where they have three votes each. A good way to do this is to give three sticky dots per person. The children then move around the room and stick the dots on their three favorite. The one with the most dots at the end receives a certificate or commendation.
You can also have a class discussion to allow pupils to elaborate on why they think the winning ecosystems are the best. It is a good idea to share level descriptors on the board and ask students to say which level they are and why.
Level 4 – Describes all four ecosystems
Level 5 – Explains how the plants and animals in the ecosystems are interdependent and uses keywords correctly e.g. producers, consumers, nutrients.
Level 6 – Gives different opinions on how ecosystems can be used sustainably.
If you enjoyed this blog, you might also like to read about ‘Thirsty Meeples’ Board Game Cafe Oxford.
